Somehow April slipped right past me and it is now almost Mother’s Day! I am doing something a little different this year for Mother’s Day and giving my kids a present. Well, really it is for me, but hopefully they won’t figure that out! 🙂
My all time, most favorite children’s story that I have read to my kids is I’ll Love Your Forever by Robert Munch. If you do not own this book, you seriously have to go out and get it. Like NOW! I have read this book countless times with the boys and still get choked up every time that I read it. My Mom was an elementary school teacher and used to cry every year too as she read it at her kids at her class’ Mother’s Day Tea.
Just in case you are not familiar with the book, it follows a little baby boy as he grows up. As he grows from a baby to a toddler and into a teenager, his Mom continues to cuddle him and sings him a little song: “I’ll love you forever. I’ll like you for always. As long as I’m living, my baby you’ll be.” Eventually the baby boy grows into an adult and his mother becomes old and sick. The man takes his Mom into his arms and sings: “I’ll love you forever. I’ll like you for always. As long as I’m living, my Mommy you’ll be.”
See? I can’t even write this without bawling. I guess you’ll just have to read the book!
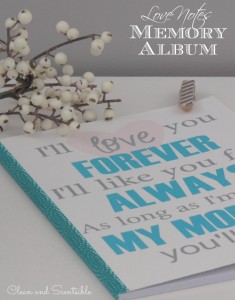
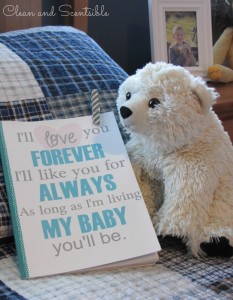
Okay, so back to my little gift. It’s kind of like a “love note” book that will pass back and forth between the kids and me {I first saw this idea over at Delia Creates}. I plan on writing random notes to the kids in the book and leaving it on their bed for them to find. They can then flip the book over to the other end and write me back a little note {or draw me a picture}. It’s a fun way to encourage their writing and communication skills and will serve as a wonderful keepsake.
Remember that the notes don’t have to be anything big – sometimes just a sweet little reminder of why you love them is all that’s needed!
MATERIALS
- notebook {I just bought mine from the dollar store}
- printables {see below for links}
- white cardstock
- glue
- paper roller {or use a rolling pin or side of a cup}
- washi tape
- sanding block
TO DO
- Print out the printables in the size closest to your notebook size. Although the printable was designed as an 8×10, I printed it out as an executive 7.25×10.5 inch size to better fit my notebook. Trim as needed. I left a thin border {approximately 3/4 cm} between the spine of the book and where I placed the edge of the printable. This allows the book to open easier and will later be covered with the washi tape.
- Apply glue to the notebook cover paying extra attention to the edges and corners. Apply the glue over the back of one of the printables as well. Don’t be stingy on glue here! Position the printable over the notebook and use the paper roller to adhere it in place. {You don’t have to actually use a roller but I find the paper adheres much better this way!}.
- Flip your notebook over and make sure you rotate it as well {it should be “upside down” compared to the front cover} so the book will open correctly. Repeat gluing with the second printable. If your kids aren’t old enough to write anything back you can always just use the one printable and keep it as a memory keeper notebook for yourself.
- As a final touch, I like to sand the edges down along the edges of the covers. Make. sure you just sand down {sanding up will tend to lift the paper up off the cover}
- Add washi tape along the spine of the book and extend inwards until it just overlaps the edge of the printable.
If you don’t want to make a book, you can always just frame the printable – it would be great for a baby or toddler room. You can also print out a smaller version of the printable and use it as the front of a card. Add a little handprint on the inside and it would be perfect!
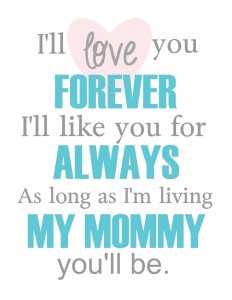
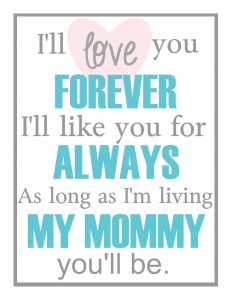
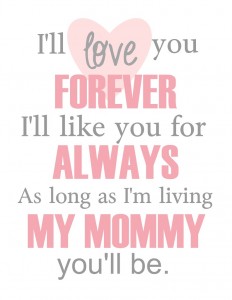
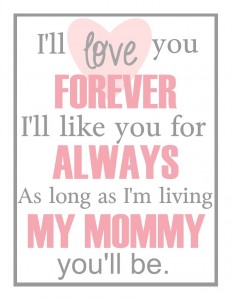
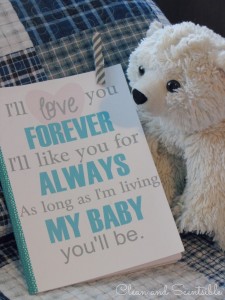
If you are making a book the borderless prints will work best unless your notebook is a in perfect proportion to 8×10. If you are making a card or putting the print in a frame, you might want to use the print with the border. I also did a boy and a girl version for you…





This is so precious! I pinned it. 🙂
This makes me so emotional. Helps me to remember how much my kids mean to me. Thank you so much for this.
*Smiles*
SO Cute! I downloaded! Thank you for sharing!
Found you through 36th Avenue Party Time. Love your blog!
I would love for you to share and link up at my TGIF Link Party.
http://apeekintomyparadise.blogspot.com/2013/05/tgif-link-party-2.html
Please, invite your friends to party too! The more the merrier!
Hugs, Cathy
Oh my goodness Jenn, this is such a sweet, sweet idea! I too have read that book to my kids countless, countless times. I remember getting choked up trying to read it. My oldest is off in college now, and my youngest is in 5th grade, so they’ve moved beyond having me read that book to them, but I love love this idea. Truthfully, I think even my 16 year old would be surprised and tickled to find this on her pillow one night. What a great way to keep the lines of communication, so tenuous during their teenage years, open and flowing. Thanks for this, and Happy Mother’s Day!
Debbie
Excellent and decent post. I found this much informative, as to what I was exactly searching for. Thanks for such post and please keep it up.
online singapore florist
When my mum read me that story a couple of years ago I cried a lot 🙂 !!
Many thanks for all of your hard work and for sharing this – so precious! You also saved me a lot of time 🙂
I was trying to find ideas to make something special for my mum for her 63rd bday, and your site came up when I typed in the ‘I’ll love you forever’ phrase on google images. I am not a graphic designer but was going to try to do up on A4 that beautiful song on Word (wouldn’t have been anywhere near as nice as this, though). But I was able to print yours out, thank you!
Then I also typed an acrostic for MOTHER on another A4. Then I made 2 x other A4 pages with photo snapshots (about 16 photos per page) of the last nearly 30 years, progressing from when I was born, to the present (photos of her and/or myself), on a light natural textured background.
It ended up being 4 x A4 sheets of paper that I then laminated and stuck together with sticky tape. It made a beautiful banner that she put up in her kitchen. She was very touched.
THANKS so much once again.
That sounds so sweet! So glad you liked the printable!